Well.. long time no see. Just have some time to optimize the site for better analysis.
According to the official tutorial:
1. Enable mod_rewrite in apache2.
1
# sudo a2enmod rewrite
2. Enable FollowSymLinks option, which is default.
3. Enable FileInfo directives. Edit /etc/apache2/sites-available/yoursite.com.conf, add:
Apache
1
2
3
4
<Directory/home/yourname/yoursite/>
Requireallgranted
AllowOverrideFileInfo
</Directory>
4. Restart apache:
1
# sudo service apache2 restart
Updated Dec 31, 2015:
Enabling mod_rewrite rewrites all requests including the one used by mod_status. To disable this, add a rule to the .htaccess file.
Apache
1
RewriteCond%{REQUEST_URI}!=/server-status
Then, change its user & group attributes to prevent overwriting from apache.
I’m running Ubuntu 12.04 as host, with VirtualBox 4.2.22. This tutorial should cover guests including Windows XP, CentOS and Ubuntu.
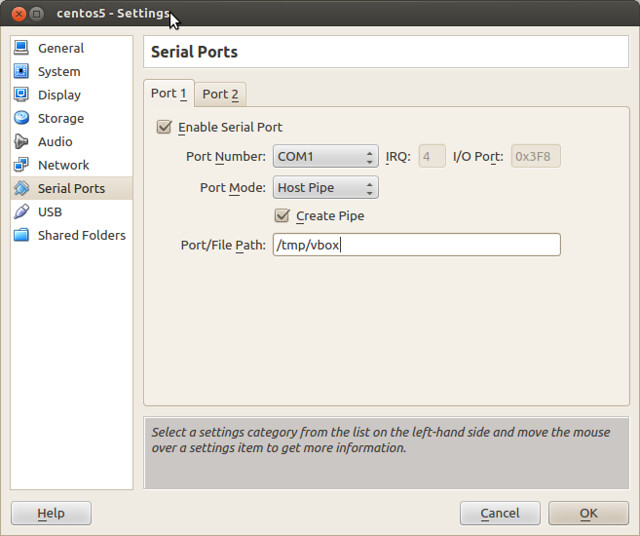
1. Settings in VirtualBox
In the settings page, Check “Enable Serial Port”, set “Port Number” to “COM1”. This is the port number in the guest. If the guest is a Linux, COM1 is shown as /dev/ttyS0, and COM2 is shown as /dev/ttyS1.
Set “Port Mode” to “Host Pipe”, check “Create Pipe” and set “Port/File Path” to “/tmp/vbox”. Seems it utilizes a named pipe. These settings work even if the host does not have a physical serial device.
2. Install minicom
1
2
# sudo apt-get install minicom
# sudo minicom -s
The second command setups minicom with an interactive menu. Select “Serial port setup”, and set “Serial Device” as “unix#/tmp/vbox”(without quotes). “Save setup as dfl” and “Exit from Minicom”.
3. Verity the serial device in guest
Now boot your Linux guest. Run the following command, and it should output something like:
werase = ^W; lnext = ^V; flush = ^O; min = 1; time = 0;
...
The guest here is CentOS5, and the serial device is /dev/ttyS0.
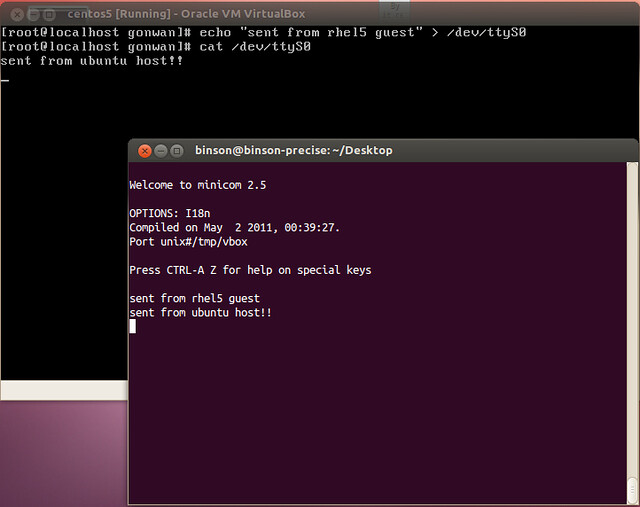
4. Communication via serial device
Start minicom on your host:
1
# minicom
Echo something from your guest and redirect to /dev/ttyS0. You host should get the message in minicom.
1
# echo "sent from rhel5 guest" > /dev/ttyS0
To read from the host, cat the device in guest so that you can do the input in minicom:
1
# cat /dev/ttyS0
5. Kernel configuration
CentOS5 comes with grub1, /etc/grub.conf is modified directly to allow the boot information to also be sent to our serial device. The original boot entry looks like:
That’s all for CentOS 5/6. There’s no need to modify /etc/inittab or /etc/securetty file as required in ArchLinux. These OS will do it for you.
Now, reboot your guest CentOS. The boot information should now displayed in your minicom. Finally, it will provide you with a login shell.
You can verify that there’s a new line added into /etc/inittab to enable getty(8) and execute a login shell:
1
co:2345:respawn:/sbin/agetty ttyS0 9600 vt100-nav
And ttyS0 is also added into /etc/securetty.
6. Ubuntu guest settings
Ubuntu 12.04 come with grub2. We do not modify /boot/grub/grub.cfg, we modify /etc/default/grub instead, so that the serial console parameters will remain even after you update your kernel. Open it, modify the following line to:
One additional step for Ubuntu, is to enable getty(8) for serial console by your own. Ubuntu uses upstart init system, we need to create a file called /etc/init/ttyS0.conf containing the following:
1
2
3
4
5
6
7
8
9
10
# ttyS0 - getty
#
# This service maintains a getty on ttyS0 from the point the system is
# started until it is shut down again.
start on stopped rc or RUNLEVEL=[12345]
stop on runlevel [!12345]
respawn
exec /sbin/getty -L 115200 ttyS0 vt102
Reboot you Ubuntu guest, and the serial device should work as it is with CentOS. More info, please refer to the official wiki.
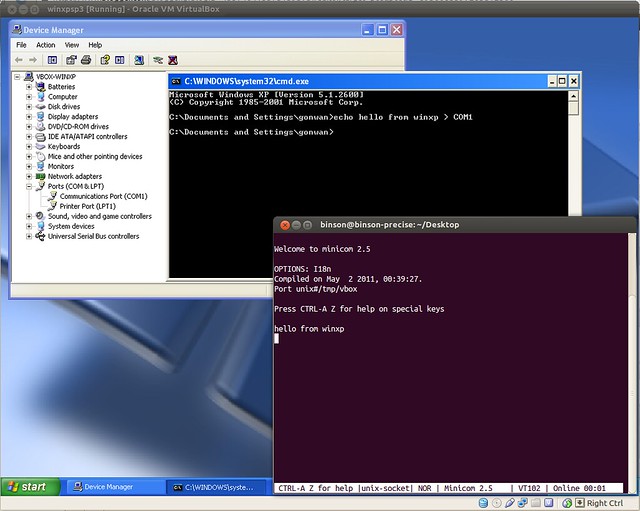
7. Windows guest settings
The serial device shows as COM1 in Windows XP as previously set. With a simple echo and redirect, our host can receive the message.
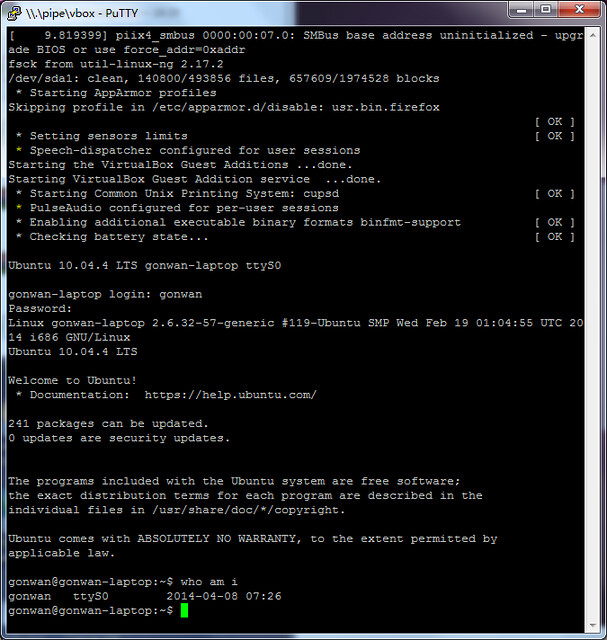
8. Windows as host
Settings of VirtualBox under Windows is almost the same as that under Linux. But we set “Port/File Path” to “\\.\pipe\vbox”, instead of “/tmp/vbox”. After the configuration of kernel and getty(8), we can use PuTTY to connect. Simply set “Connection type” to “Serial”, and “Serial line” to “\\.\pipe\vbox”.
Macintosh really has a fantastic UI. I once installed OSX 10.3 successfully using pearpc, but it was awfully slow, since it need to emulate PowerPC via software layer. And now, I just successfully installed OSX 10.6 Snow Leopard in VMware player 5.0.2. The equivalent workstation version is 9.0.2. I tried virtualbox, but it just did not work. Now, please follow my steps:
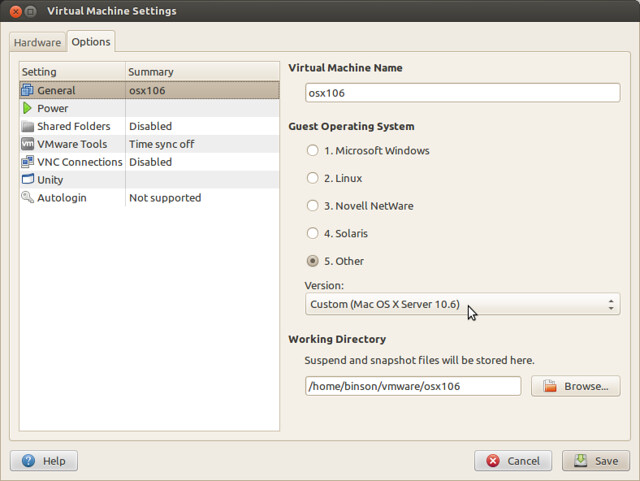
1. Create a new VM and select the OS type as “FreeBSD”.
2. Close the VMware player. Open the *.vmx file find the line:
1
guestOS = "freebsd"
Change to:
1
guestOS = "darwin10"
Start VMware player again. The OS type is now set to “Mac OSX 10.6 Server”:
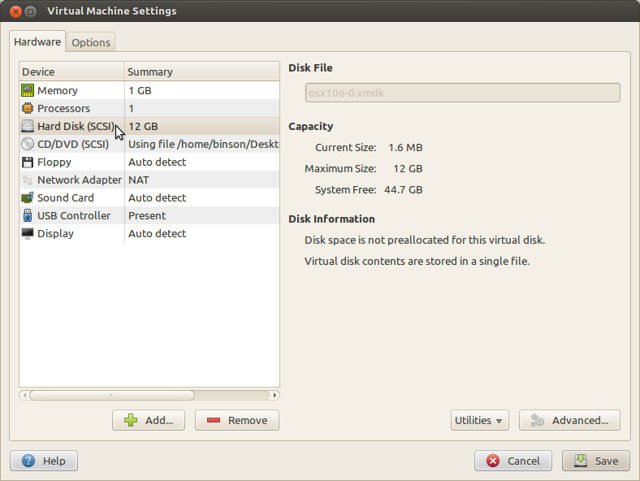
3. Modify VM: set Memory to 1G, check “Accelerate 3D Graphics”. Now, here’s the most _important_ step: Remove your existing hard disk, and add a new one, but choose SCSI as the virtual disk type. Change the CD/DVD device to also use SCSI type via the “Advanced” button. Without these steps, you will encounter the famous “still waiting for root device” error. Seems OSX cannot handle IDE devices correctly.
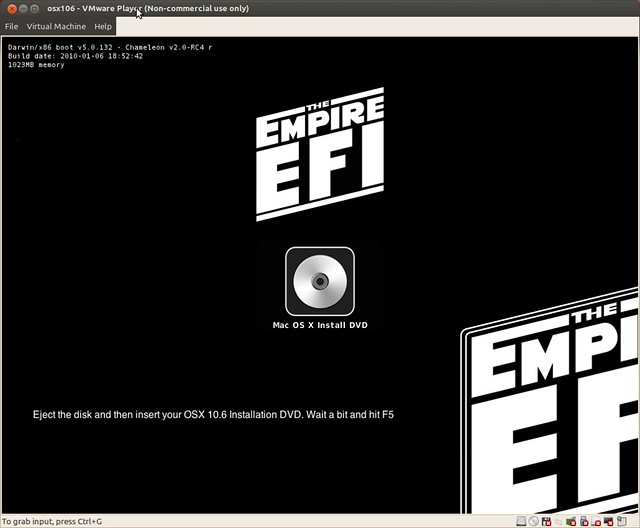
4. I used EmpireEFI v1085 to boot and install OSX 10.6, please find both images for your own. When EmpireEFI boots finishes, mount the OSX 10.6 image and press F5 to refresh. VMware player 5.0.2 supports *.dmg file directly, please select all files to find the image:
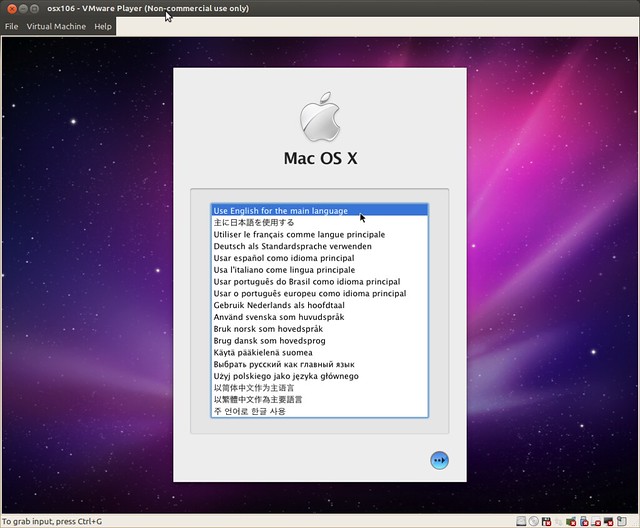
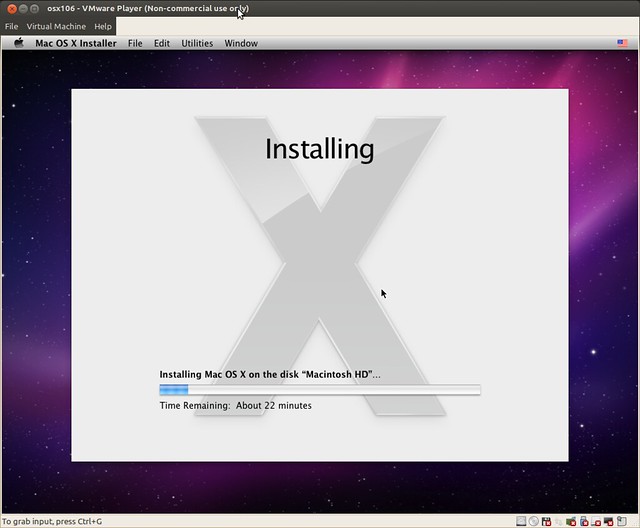
5. Here we go, just press enter and you will be booted into OSX installer:
6. If the disk drive doesn’t appear under “Select the disk where you want to Install Mac OSX”, go to menu Utility –> Disk Utilities and erase the whole disk:
7. The disk should now appear. You may want to customize the installation by clicking the button in left-bottom corner. Then let’s move on:
8. When finished, the system will reboot automatically. And it will fail. We must still use EmpireEFI to boot. But we select to boot OSX this time:
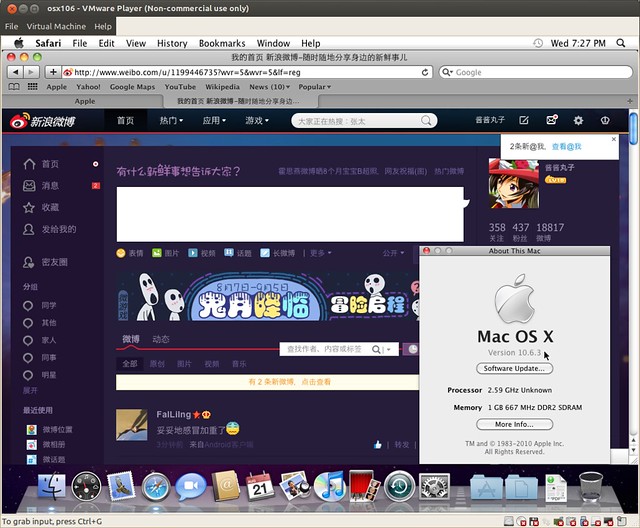
9. After some simple configuration, you will finally have your OSX desktop. Cheers!
Updated Aug 23:
The EmpireEFI did not work after I upgraded to 10.6.8. Kernel panic appeared like:
1
This symbol set has the following unresolved symbols:
I used iBoot 3.3 to replace EmpireEFI, and booted successfully.
You will have App Store(available in 10.6.6+) in your menu after upgrade. I also installed Xcode 3.2.6 which can still be downloaded from Apple. It requires 10.6.6 too.
And you’ll find it in under “System Tools” section of your menu. Follow the wizard to create your own Ubuntu image. It will extract your Ubuntu image, and also the squashfs on it. 5G free disk space is required under ~/tmp. The final customized image locates as ~/tmp/remaster-new-files/livecd.iso.
I tried to use a 10.04.4 image as base image. It ends with message:
1
You asked for a hybrid ISO but isohybrid command was not found.
Don’t worry. The final image is already created. isohybrid is in syslinux package 3.72 and later. But Ubuntu 10.04 has only 3.63.
Now you can use the image like the source image. Either burn it or use it to install from harddisk. I integrated all Chinese supports, codecs and some development tools. See screenshot of my livecd: